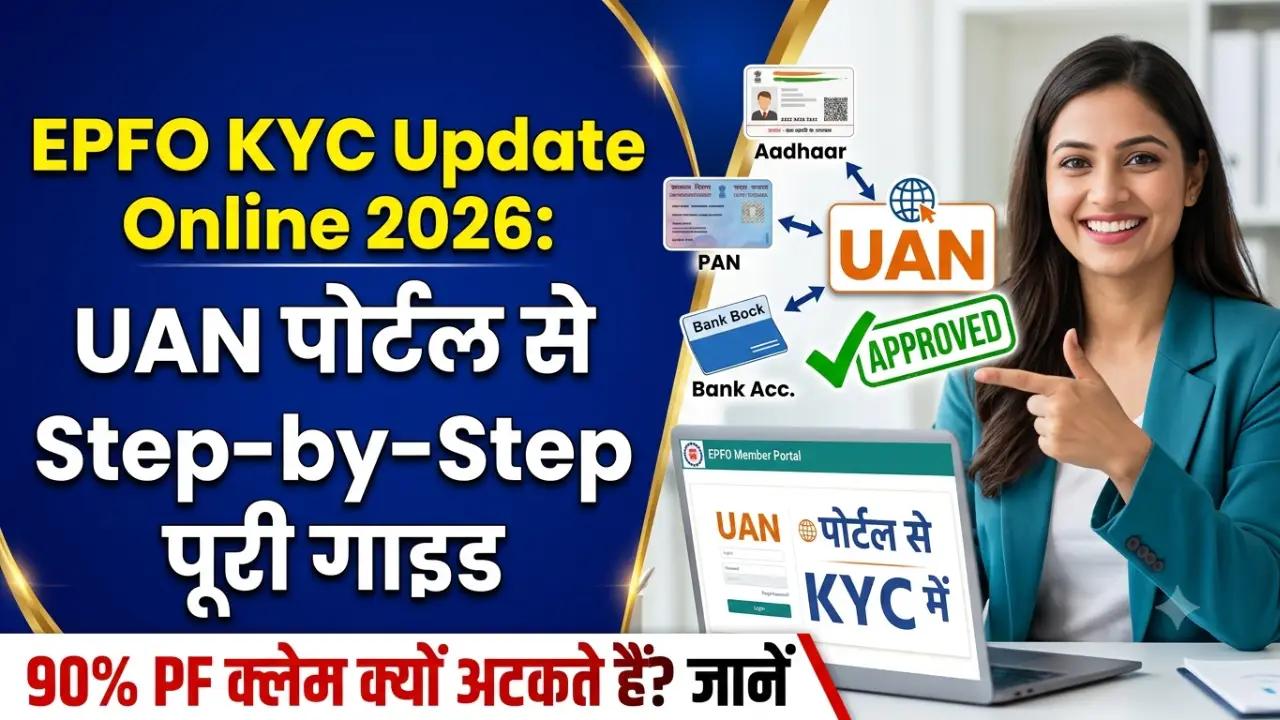
If your PF claim is stuck or your transfer is getting delayed, incomplete or incorrect EPFO KYC details are responsible in 90% of cases. Without linking your Aadhaar, PAN, and bank account to your UAN, your withdrawal request can be rejected instantly. In this guide, we will walk you through how to update your EPFO KYC on the EPFO Member Portal, what documents you need, and how to track your status
What is the Difference Between EPFO KYC and EPFO eKYC?
People often confuse these two terms, but there is a subtle technical difference:
- EPFO KYC: A broader term that covers linking any document—such as Aadhaar, PAN, bank details, passport, or voter ID—to your UAN.
- EPFO eKYC: Refers specifically to Aadhaar-based digital verification, where your details are matched and verified in real-time directly with the UIDAI database.
In simple terms: Every eKYC is a form of KYC, but not every KYC is necessarily Aadhaar eKYC.
Prerequisites: What to Keep Ready Before Updating EPFO KYC
Before starting the process, make sure you have the following details handy:
- Active UAN and password
- Registered Mobile Number linked to UAN (for OTP verification)
- Aadhaar Card (Ensure your name and date of birth match your Aadhaar record)
- PAN Card Number (if linking PAN)
- Bank Account Number & Correct IFSC Code
- Optional Documents: Passport, Driving License, Voter ID, Ration Card
Important Note: Enter your name, date of birth, and gender exactly as recorded in EPFO files. Even a minor spelling mismatch can lead to your employer rejecting your KYC request.
EPFO KYC Update Online: Step-by-Step Process
Step 1:- Log in to the EPFO Member Portal
Visit the official EPFO Unified Member Portal. Enter your UAN number, password, and Captcha code, then click on the Sign In button. (Note: If your UAN is not activated yet, you must complete the UAN activation process first.)
Step 2:- Open the KYC Section Under the Manage Menu
Once logged in, click on the Manage tab in the top navigation bar. From the drop-down menu, select KYC. Here, you will see a list of document types like Aadhaar, PAN, and Bank details.
Step 3:- Select Document Type & Enter Details
Tick the checkbox next to the document you want to update:
- For Aadhaar: Enter your 12-digit number and your full name as printed on the document.
- For Bank Details: Enter your bank account number and valid IFSC code.
(You can select and submit multiple documents at the same time.)
Step 4:- Save the Details
Double-check all entered information and click Save. Once saved, your request will move to the “KYC Pending for Approval” section.
Step 5:- Await Employer Approval
Your submitted KYC request must be verified and digitally approved by your current employer. Once approved, the status will change to “Digitally Approved KYC”, and the details will be officially updated in your UAN profile.
How to Check Your EPFO KYC Status
- Log in to the EPFO Member Portal using your UAN and password.
- Click on the View tab in the top menu.
- Select the UAN Card option.
- If your KYC is completed, you will see “Yes” displayed on the card.
Alternatively, scroll down to the “Digitally Approved KYC” section under Manage > KYC to view the list of successfully verified documents.